Multi day stand up paddle trip is not very common thing to do. People usually use kayaks when making sea tours. Kayaks are much faster and less affected by wind, so you can cover larger distances, see and explore a larger area and be safer. But stand up paddle boards also have their benefits. You can load them with a lot of gear since you are not limited by the size of the kayak storage compartments. And they are your private little island in the sea. You can jump off, swim, snorkel, and cool off whenever you feel like it. It is almost impossible to climb back into the kayak from the sea. Stand up paddle board also gives your body more freedom. You can stand on it, sit, kneel, you can lie on your back and rest with legs crossed and a backpack under your head. In kayak your body is always in the same position and you will want to make stops to stretch your limbs. Stand up paddle board is also very stable, you can fall off for sure, but the board itself will never capsize.

Perfect islands for a SUP camping trip
So yes, going on a camping trips using your stand up paddle board while exploring the otherwise inaccessible coastline, hidden bays, small islands… it’s loads of fun. If this is something that you want to do, here are a few tips on how to do it properly and how to stay safe.
Skill Level Required
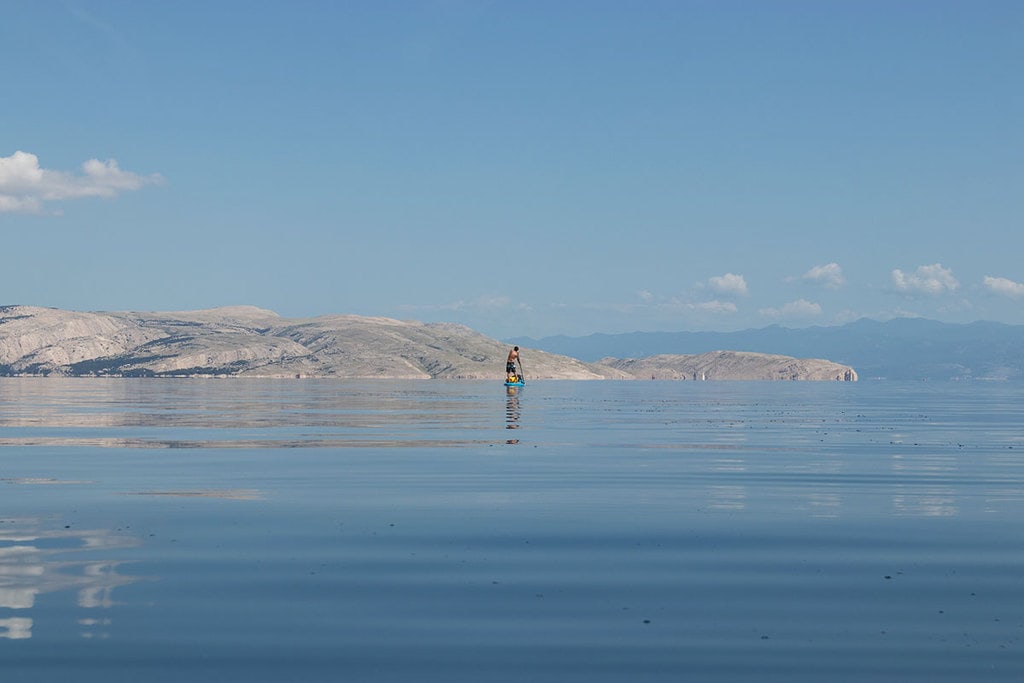
Paddling over open sea in ideal conditions, when the sea is completely smooth paddling is a magical experience.
A multi-day stand up paddling trip is not for beginners. You should have at least the following skills before you go on such a trip:
- you should be really comfortable on your stand up paddle board,
- you must know what kind of distance are you able to cover in one day of easy paddling,
- you have experienced different sea and wind conditions and you know how they affect your paddling speed.
Plan Your Route
Plan your route in advance – use google maps to measure the distances that you want to cover and see if they are doable. Also, check where are the suitable places to enter the water. You will need to bring lots of gear not just the board and paddle like usually. And you will have to carry it all from your car to the beach. So places where you can park your car right next to the beach are best.
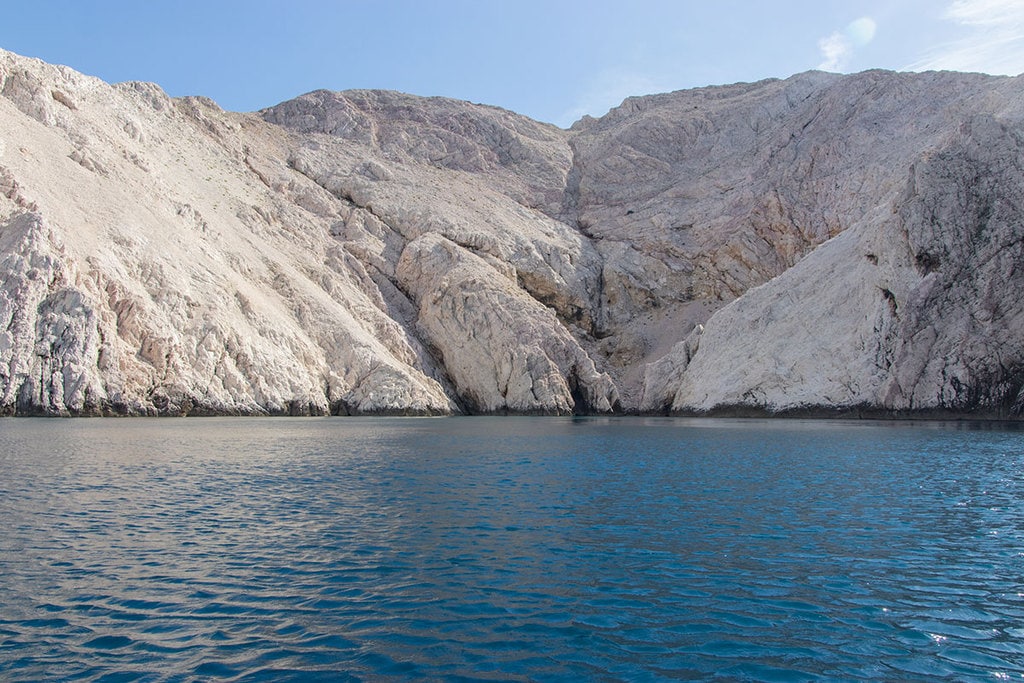
Hidden bay on a deserted island, this is what we are usually looking for.
Are there any places where you can get food and water along the way, or will you have to bring everything with you?
Plan your trip in such a way that you cover the greatest distance on your first day. First day weather forecast is the most reliable. If the sea is calm and no wind is predicted for the day you can be quite sure it will stay that way. Next day is not so sure anymore. So it is better to do the most of paddling at the beginning of your trip and have some reserve for the other days in case the weather turns bad.

Staying closer to shore is safer and way more interesting.
Plan your route so you are close to shore. This way if something goes wrong you can swim to shore and secondly, paddling along the coast is way more interesting than paddling over open sea which can be quite boring. And of course – choose a route that takes you somewhere with beautiful nature. Somewhere where there is no car or pedestrian access, where the only way to get there is by sea.
And finally, very important, always inform somebody where you went.
Weather
Have you ever tried stand up paddling against wind? A person standing on a stand up paddle board is like a sail on a sailboat. People paddle down wind and feel like supermen. They go fast without much trouble. “Hey, this stand up paddle thing is really easy!” Until it is time to turn around and go back, this time against the wind. As the wind strength increases the paddling soon turns from slow to annoying and then to virtually impossible. This is why weather is EVERYTHING when it comes to panning a stand up paddle trip. When you go paddling for an hour or so and then go back to the beach from where you started it’s quite simple. If there is no wind at that moment, you are good to go. You don’t even pay much attention to it.

Sometimes wind conditions just around the corner can be quite different than in a hidden protected bay.
But if your stand up paddle trip lasts a couple of days, knowing the weather forecast in detail is a must! Forecasts these days are very accurate but some level of local knowledge is also needed. Experience how a certain forecast and wind strength translates to reality and sea conditions.
Even if the forecast shows no wind you can count on some thermal wind during the day (depending on the location and season). It does not take much wind for the paddling to become really difficult. Lots of times it is better to wait for the wind to die down before you start paddling. This is also the reason why you should choose a bit shorter route than you can handle, because if the weather turns bad, it will take you much longer.
To sum it up – look for days that are completely windless and check websites that offer detailed wind and weather conditions for instance Windy and Windguru!
Stand Up Paddle Trip Packing List
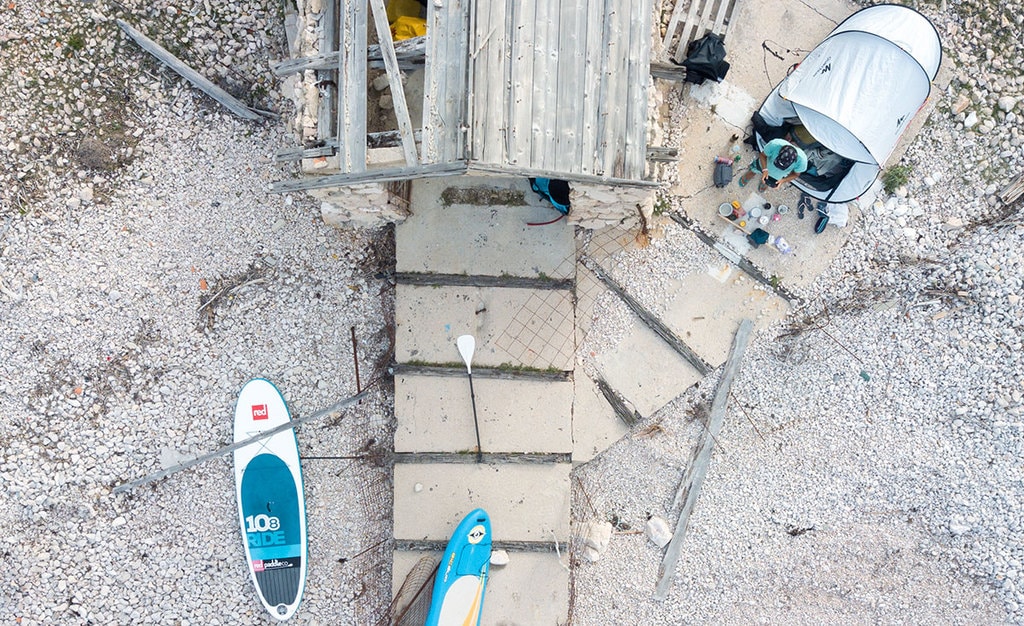
Camping ground from above.
This is a list of things that we usually take with us on a stand up paddle trip, depending of course on the season and duration of the trip:
- Hand pump for inflatable SUP and basic repair kit for patching the board, better be safe than sorry
- Some rope
- Silver tape
- Tent
- Sleeping bag
- Sleeping pad
- Flashlight
- Towel
- Swimwear
- Sweater and sweat pants
- A few t-shirts
- Flip-flops or if you plan to do some hiking also regular shoes
- Sun hat and sunglasses
- Windbreaker jacket
- Personal hygiene items
- Sunscreen
- Mosquito Repellent
- Phone, make sure you download the are maps at home in case there is no connection where you are going + a power bank
- Camera, GoPro Camera etc…
- Water for drinking and cooking
- Food: you can either bring a big pile of sandwiches and fruit or bring a small backpacking/camping gas stove and cook. Cooking in the middle of nowhere is really fun! So in this case bring a small gas cooker, you can also bring a disposal barbecue, and a few pots and pans. Keep it simple and light. Plan ahead your meals and think what do you need. Don’t forget: a lighter, spices, oil.
- Bring some snacks like power bars.
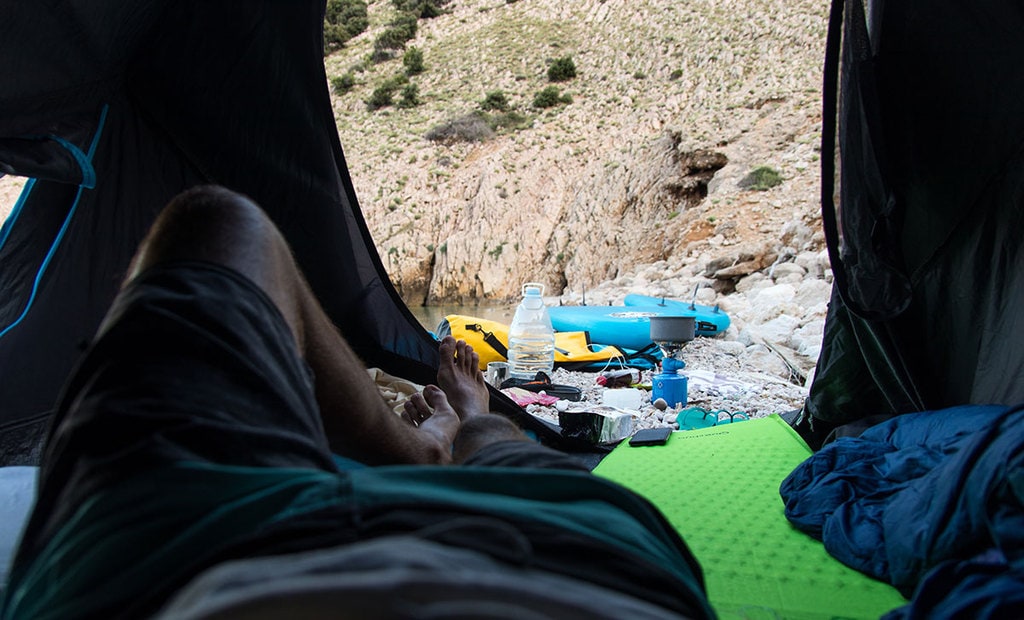
Tent view, 5m from the sea.
Loading Your SUP With Gear

A waterproof backpack, a regular dry bag, sun cap and a jug of water.
First question is – where do you put all this gear? You will need 2 -3 dry bags, depending in their size. I usually take DryTide 50l waterproof backpack which has plenty of room, even more than 50l depending on how much you roll down the top + one regular 30l dry bag. Backpack comes in handy for carrying most of my personal items and cameras and if we want to explore the island that we go to. The regular dry bag is filled with food and cooking equipment. I put the tent and the hand pump into the sup bag (not waterproof), because the tent won’t fit anywhere else (it’s a Quechua 3s tent that is round). Alternatively I could just put it in a garbage bag. Either way, you have to protect your gear from water! Because it will get wet as soon as the sea is not completely calm and flat. Even small waves made by passing boats can wash over a loaded sup and wet everything that is not protected.
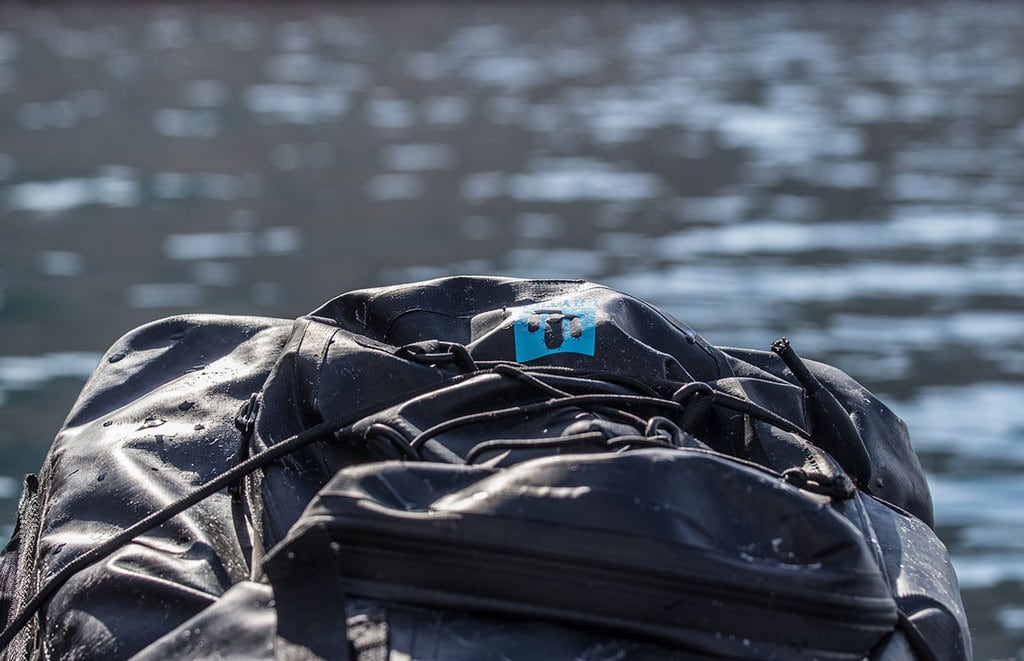
DryTide waterproof backpack strapped to the top of the SUP board.
Almost all inflatable boards have elastic straps on the nose. These straps are used for fastening your luggage on to the board. The longer this elastic cord is the easier it is to pack. If the length of the elastic cord is not adjustable you will have problems. These things are usually designed to hold a few snacks, a bottle of water and a jacket, not 2 days of camping gear. So if the cord is not adjustable bring your own cords to attach your bags to the board.
The elastic straps are usually also to far on the nose. You need to place your bags close to the center of the board. Do not place everything on the nose. By placing your bags towards the center the board will be more stable, will glide better over the water surface and will cut better through the waves if needed.
Take Only Memories, Leave Only Footprints
Leave the place exactly as you have found it. Or, even better, these days there is plastic everywhere, so if you have enough room take 5 minutes and do a quick beach clean up, take the trash with you and dispose it properly.


