Repairing a dry bag or waterproof backpack can be challenging due to their specialized construction. Keeping the inside of the bag or backpack completely waterproof requires special construction techniques that limit what can be later easily repaired. With this in mind, there are three different types of tears that can happen with waterproof bags and depending on the type of the tear there are different ways on how to repair torn dry bag or torn waterproof backpack:
- Tear or puncture in the waterproof fabric
- Welded seams coming apart
- Torn stitches
Repairing Torn or Punctured Fabric on a Waterproof Backpack or Dry Bag
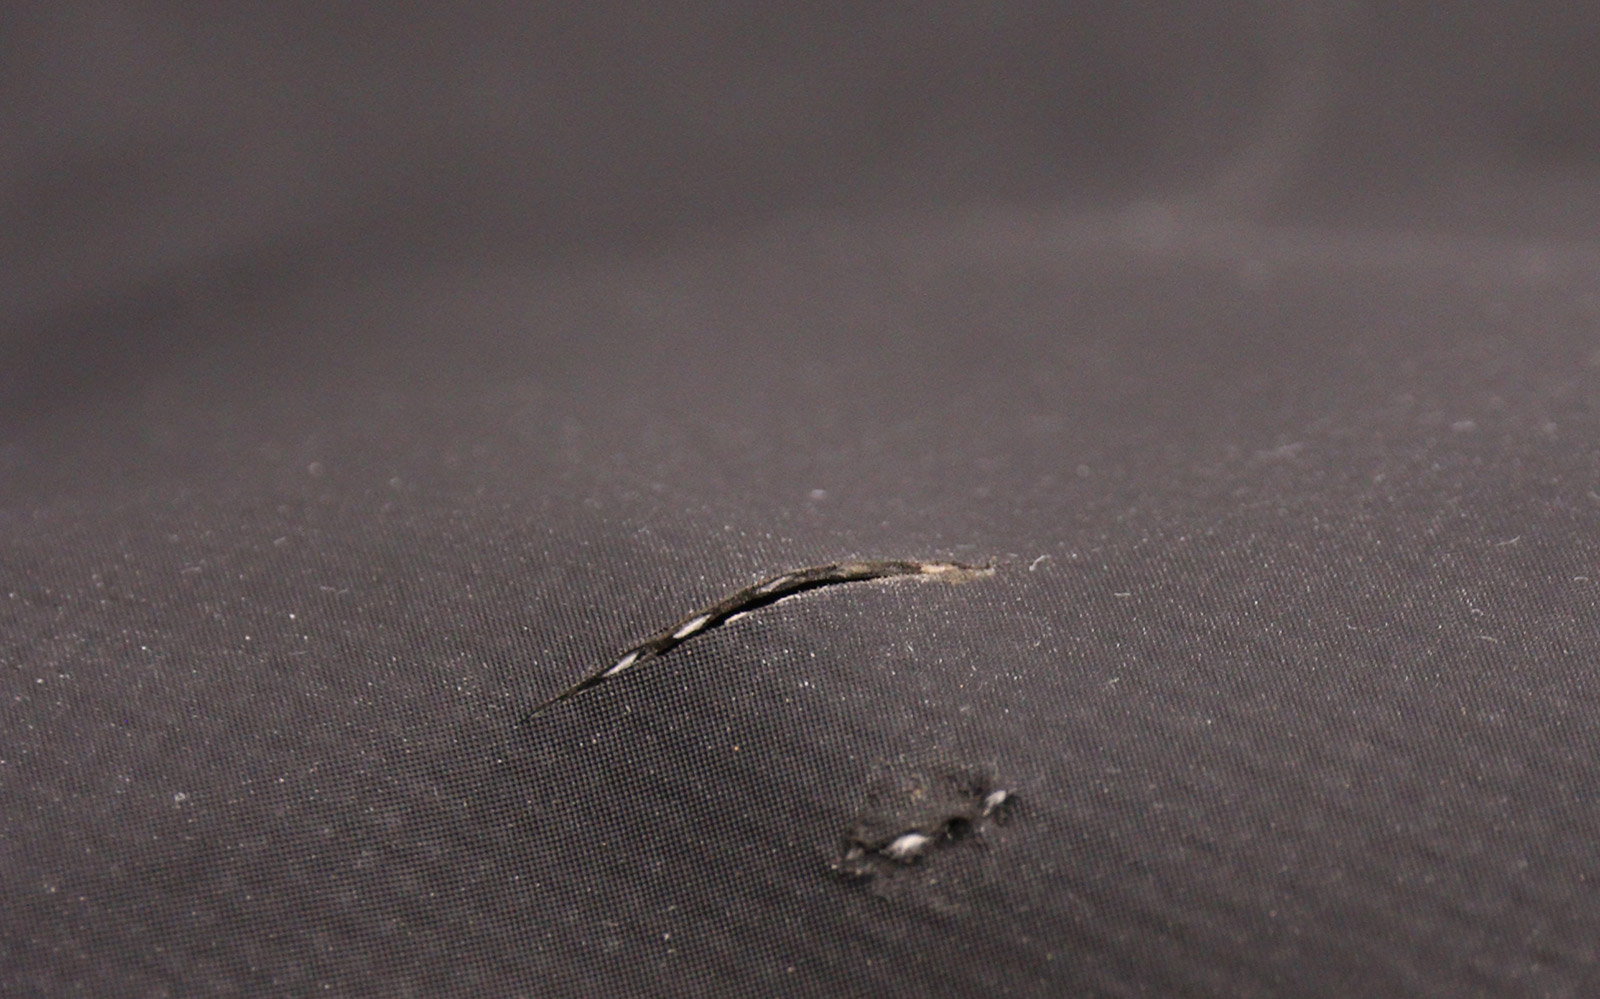
This is the most common and fortunately also easiest type of dry bag repair. Tears and punctures can happen when you drag your backpack or dry bag over sharp surfaces, drop it on thorns, carry very sharp objects inside the bag (knives, fishing hooks…) etc…

Materials You’ll Need To Fix a Torn Dry Bag:
- Self-adhesive repair patch
- Scissors
- Rubbing alcohol or an alcohol-based cleaning wipe
- Clean, lint-free cloth
- Optional: Seam sealer or waterproof adhesive for dry bags for some extra reinforcement
Step 1: Clean the Damaged Area
Start by cleaning the area around the tear or puncture. Use rubbing alcohol or an alcohol-based cleaning wipe to remove dirt, oils, and other residues. Make sure the surface is completely dry before you proceed.
Extra tip: Usually it is better to apply the patch from the inside of the bag as it is less visible and less exposed, but it really depends on where there will be less stress on the patch. For inflatables, accessing the inside is not an option, so repairs must be made from the outside.
Step 2: Trim Loose Edges
Inspect the tear or puncture for any loose or frayed material. Use scissors to trim these edges, as they can interfere with the repair patch’s adhesion. Smooth, clean edges provide a better seal.
Step 3: Choose the Right Patch
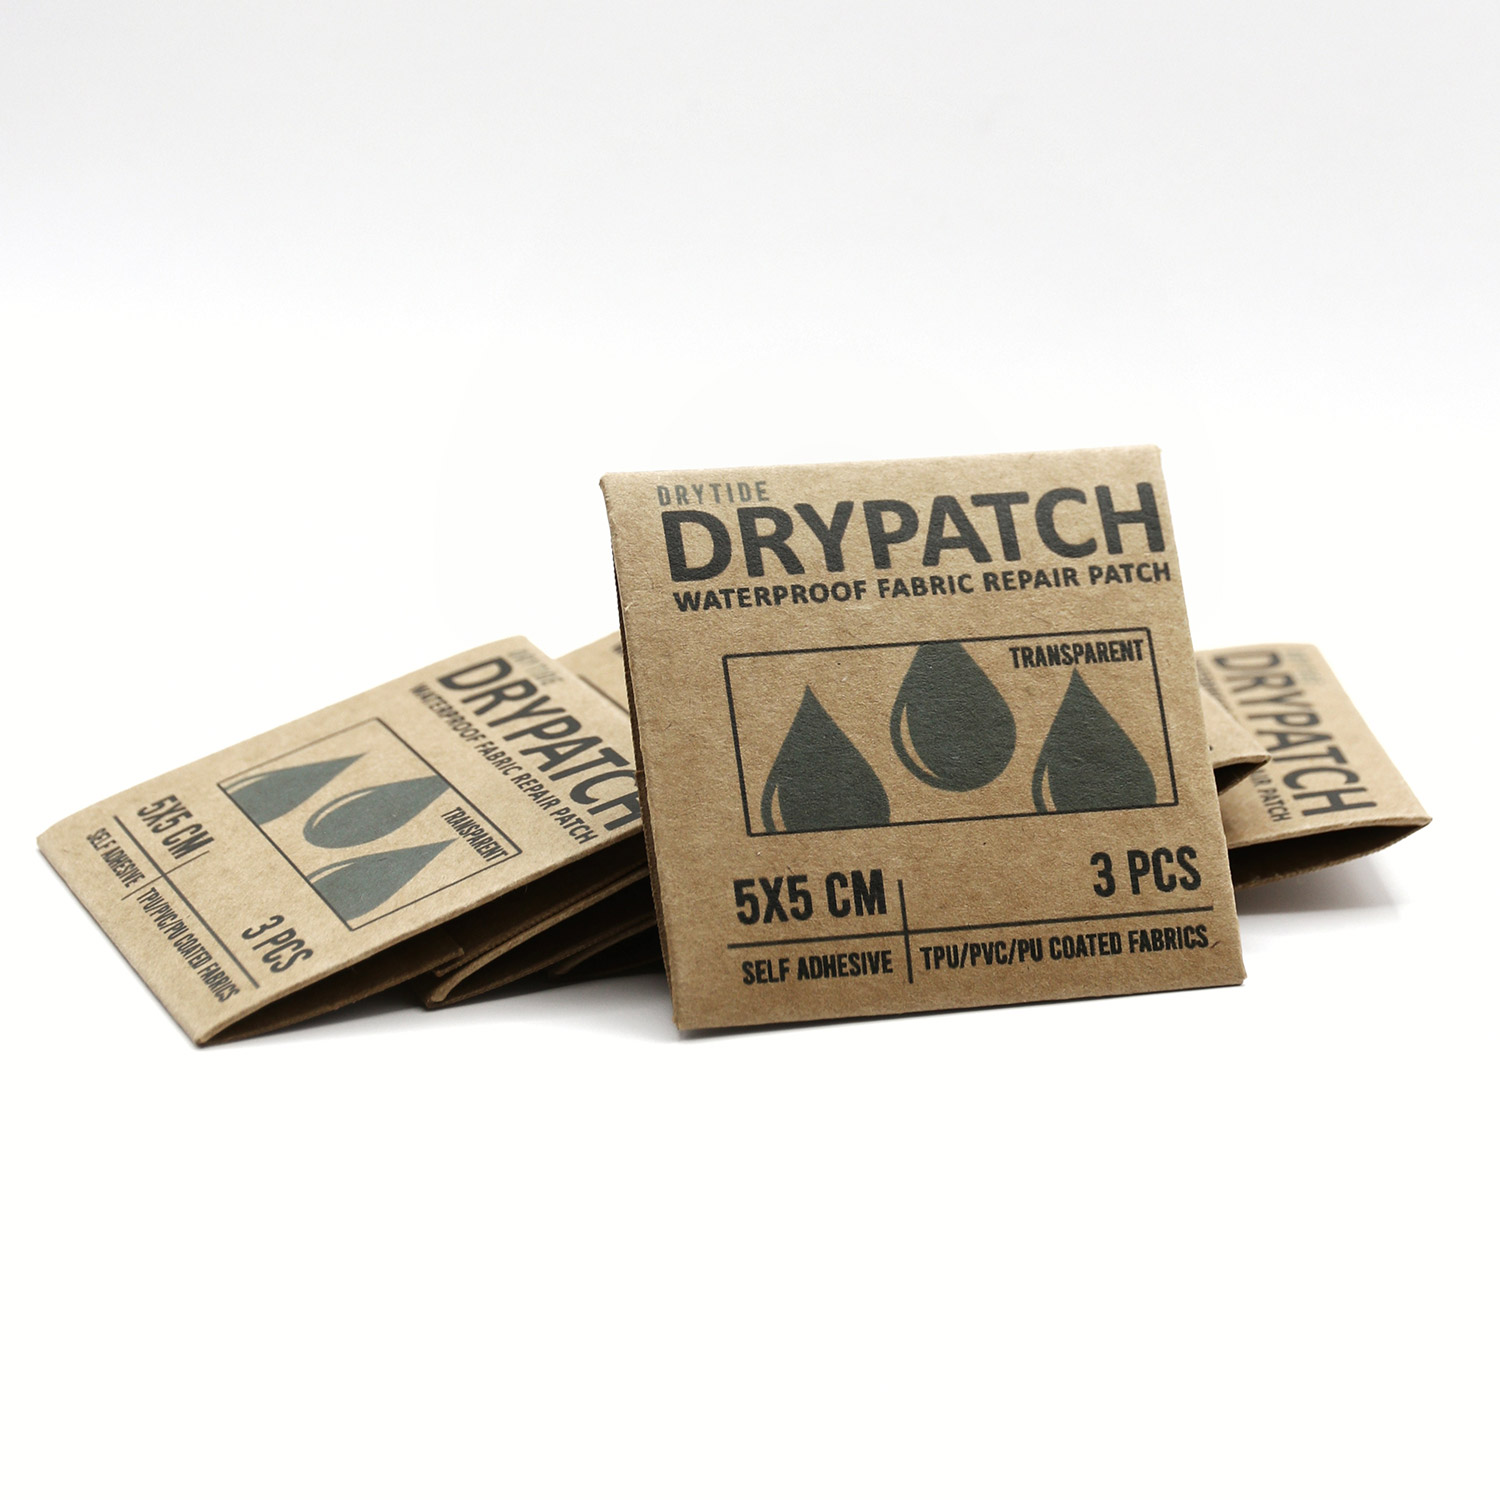
Select a self-adhesive repair patch designed for waterproof materials, as they’re specifically made to bond with the fabrics used in dry bags and waterproof backpacks (PVC, PU and TPU coated fabrics). There are dry bag patch kits designed for specific coating and patches that work with all coatings. There is marginal difference in effectiveness of these patches.
When choosing the colour of the patch you can either go with transparent patch that works on all colours or if you can find a patch that is the colour of your bag.
Step 4: Cut the Patch to Size
Cut the repair patch to a size slightly larger than the damaged area. There should be at least 1cm (1/2 inch) of overlap. More overlap is more secure. Round the corners of the patch to prevent peeling over time.
Step 5: Apply the Patch
Peel off the backing from the repair patch and carefully position it over the damaged area. Press firmly to ensure good adhesion, starting from the center and working outward to remove any air bubbles.

For extra durability, apply a thin layer of seam sealer or waterproof adhesive around the edges of the patch. This step helps to further secure the patch and prevent water from seeping in and the edges of the patch peeling off.
Step 7: Allow the Patch to Set
Follow the manufacturer’s instructions for setting time. Usually patches require from 4 to 24 hours to cure fully before the bag can be exposed to water or heavy use. For light use you can use the bag right away, but to make the fix more durable it’s better to wait. Avoid folding or rolling the bag during this time.
If you don’t have a pre-made patch, you can create one using a piece of the backpack’s material and a specialised sealant for dry bags. Refer to the next section for detailed instructions, as the process is the same as repairing welded seams.
Welded Seams Coming Apart
Most seams on dry bags and waterproof backpacks are created using ultrasonic welding, a process that bonds materials without thread, needles, or adhesives. This method requires specialised welding machines that fuse the material together. If these seams come apart, they can only be fully repaired using the same type of equipment. Unfortunately, this makes repairs challenging and often expensive. In many cases, the cost of shipping the bag back to the factory and having it repaired there can exceed the price of replacing the dry bag entirely.
It is however also possible to fix this using specialised adhesives. Waterproof bags and backpacks are made from waterproof materials that are coated with either PVC, TPU, or PU it is important that you get the right type of glue that bonds well with these materials.
Here are a few recommended glues for DIY dry bag repair:
PVC Cement – Ideal for PVC and vinyl materials creates a strong, flexible, and waterproof bond. It can be used on seams or also to glue patches on to the waterproof material.
Urethane Adhesive – Suitable for TPU, nylon, and other coated fabrics. Forms a durable, flexible, and waterproof bond and is commonly used for outdoor gear repairs.
Marine Adhesive Sealant – Designed for waterproof applications and bonds well with many materials. It has long curing time but provides a strong seal for high-stress areas.
Contact Cement – effective for temporary repairs, but not as durable as the above options and may not withstand prolonged exposure to water.
If you decide to fix a welded seam, here is how to do it.
How to Repair Welded Seams with Glue:
- Clean the Area: remove dirt, oils, and residues from the seam and make sure the surface is dry before you start gluing.
- Apply the Adhesive: This part depends on the glue so check the instructions but usually you need to apply a thin, even layer to both sides of the separated seam.
- Press and Align the Seam: Bring the seam edges together carefully, ensuring proper alignment. Use clamps or weights to hold the seam in place during curing.
- Allow Proper Curing Time: Let the adhesive cure as long as the glue instructions recommend. Depending in the glue this can range from a few hours to 24 hours.
- Reinforce the Seam (Optional): For extra durability, you can apply a self-adhesive waterproof patch over the repaired seam.
Torn Stitches
Some parts of waterproof bags and especially backpacks are constructed using needle and thread. However, sewing is never used for waterproof compartments, as the needle creates holes that compromise waterproofing. When something is attached to a dry bag or waterproof backpack, it must first be sewn onto a separate piece of fabric, which is then welded onto the bag.
With this in mind it is obvious why repairing torn stitches can be challenging. Stitches can be easily resewn only on non-waterproof areas, such as shoulder straps. However, if stitches are used on fabric that is then welded to the bag and they come loose, the repair becomes more complicated. You’ll need to first separate the welded seams, repair the stitching without going through both layers of the material, and then re-weld the seams or in case of DIY repair, glue the seams back together in a same way as described in previous chapter.


